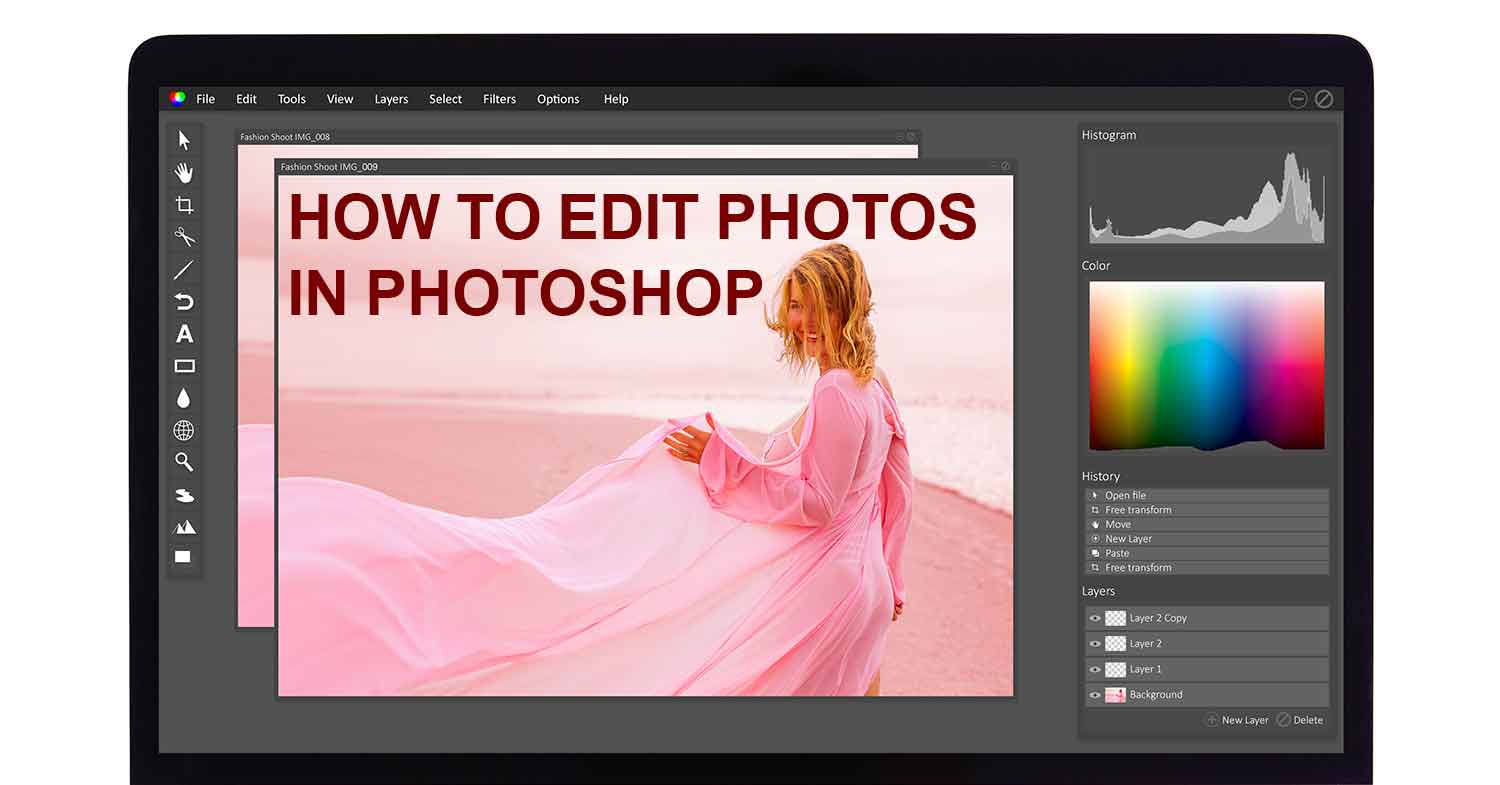
Editing photos can be a thrilling and exciting procedure that can totally transform your photos. If you’re just beginning your journey or want to improve your abilities, knowing how to edit your photos correctly can make all the impact. In this tutorial I’ll talk about my experiences using photo editing and walk through the most common actions like blurring background images or changing the background and even removing the background from Photoshop. Let’s get started!
Understanding the Basics of Photo Editing
Before you can get deep into particular techniques it is important to grasp the fundamentals. Editing photos involves altering various elements such as brightness and contrast, colors and sharpness, to enhance the image. Tools such as Photoshop, Canva, and Lightroom are well-known to accomplish this.
As I started to edit images, I was wonderer at how even minor changes, like raising the light or cropping an image could transform a dull image to life. So, don’t be hesitant to play around with basics before you move on to more advanced techniques.
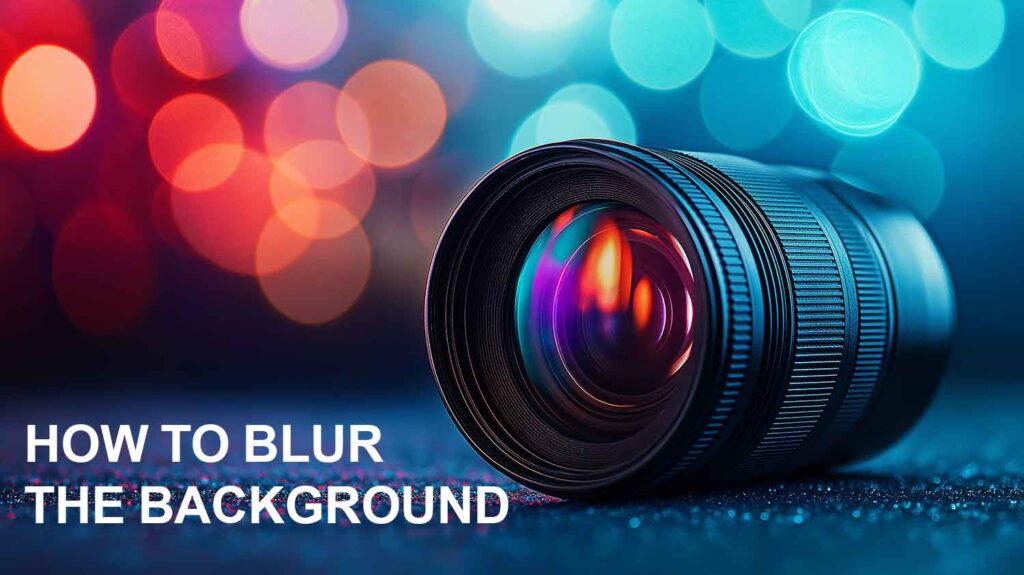
How to Blur the Background in a Photo
The blurring of the background can be a great method to edit photos and focus attention on the subject of your photograph. It gives a professional appearance that is often used when photographing portraits. Here’s how:
1.Open your image within Photoshop.
2.Create a duplicate layer using the right click the layer’s panel and then selecting Duplicate Layer.
3.Choose the Select menu, and select Subject. It will then highlight your principal object in your photo.
4.Once you have selected the subject After that, you can go back to the Select menu and select Inverse.
5.After selecting the background Select the Filter menu, then Blur and finally Gaussian Blur. Set the blur’s intensity according to your preferences.
You can click OK now you’re all done!
Why Blur the Background?
Blurring the background can make your subject stand out, especially in distracting or busy environments. Personally, I like this technique for portraits and product photography as it provides a professional appearance.
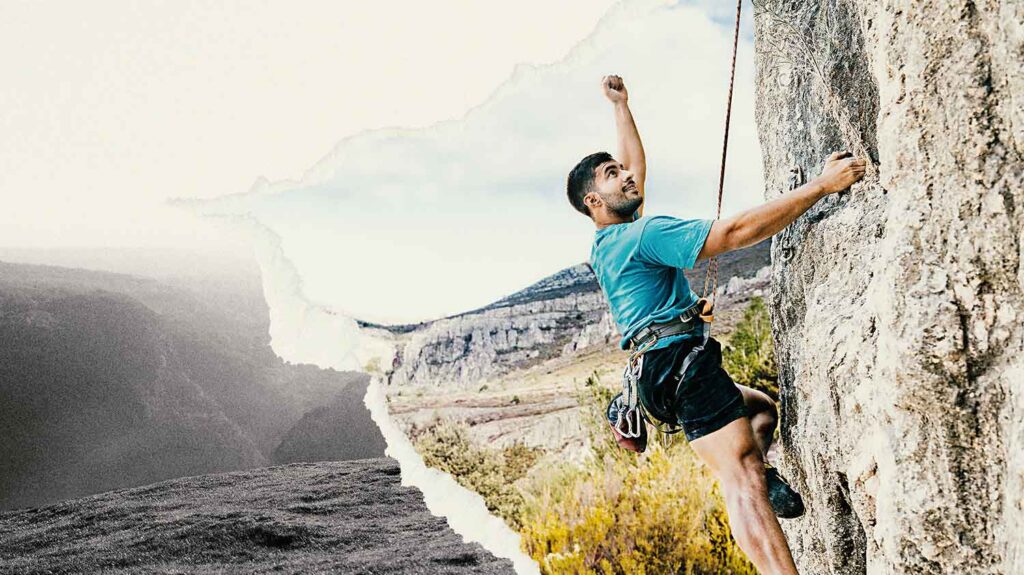
How to Change the Background of an Image
The background of a photograph will completely alter its look. If you’re looking to set your subject in the beach, in the studio or even a fantasy setting the technique offers unlimited possibilities.
Using Photoshop
1.Open your photo and copy the layer.
2.Make use of the Select Subject tool to outline your topic.
3.After you have selected the subject After that, you can refine the edges with the Refine Edge tool. Refine Edge tool to make the cutouts smooth.
4.Click Delete to erase the background. There will be a transparent background in the next moment.
5.Drop your background onto the file. It should be placed behind the subject layer.
6.Change the lighting and colors so that the background and subject blend naturally.
Other Tools for Background Changes
If Photoshop seems too complicated it is possible to try simple tools such as Canva, Fotor, or online platforms such as Remove.bg. These tools let you alter the background with just one or two steps, even if you’re not a Photoshop professional.
How to Remove Background in Photoshop
The removal of background images of a photo is among the most commonly used editing tasks. It is essential to create logos, graphics or images of products for e-commerce.
Steps to Remove Background in Photoshop
1.Open the image within Photoshop.
2.Choose the Select menu, and select Subject. Photoshop’s AI will recognize the subject matter.
3.Click to remove background in the Properties panel.
4.Make use of your Eraser Tool as well as use the Refine Edge option to clean any spots that have been missed.
5.The image should be saved in PNG format in case you need transparent backgrounds.
Why This Technique Is Useful
I’ve used background removal numerous times to create marketing materials. For instance, when I was designing an advertisement, I had to remove a product so that I could set it against a clear bright background. It’s a specialized skill designers should master.
Essential Tools for Photo Editing
While Photoshop is a powerful tool however, there are other tools that can assist with edit photos. Here are a few of my favorite tools:
Canva: Great for those who are just starting out or those who prefer drag-and drop functionality. Ideal for posting social media content and presentations.
Lightroom: Great to correct color and enhance the overall appearance of photos.
Fotor is a simple online tool that comes with pre-designed effects and filters.
GIMP is a free alternative to Photoshop that has many of the functions.
These tools are geared towards different abilities, so pick the one that is best suited to your requirements.

Tips for editing your photos better
Editing photos isn’t only about applying filters or eliminating backgrounds. It’s about improving the narrative of the photo. Here are some of the tips I’ve gathered over time:
Always keep a copy of the Original in this means you can begin from scratch if you’re unhappy with the changes.
Pay attention to details Pay attention to the small things, such as sharpening the eyes of a photograph can have a huge impact.
Explore Colors Don’t be afraid to experiment with striking color combinations to create a distinctive style.
Make sure you practice consistency: If you’re editing images to share on social media or for your own project, ensure you’re using an identical style to create an aesthetically pleasing appearance.
Why Choose FileClub for Premium Design Resources?
If you’re looking for top-quality Photos or vectors to edit your photos, FileClub is an excellent alternative. It provides access to premium-quality files on platforms such as:
If you’re looking for pre-designed backgrounds or textures or elements for your design, FileClub has you covered. It’s also less expensive than buying individual images on these platforms.